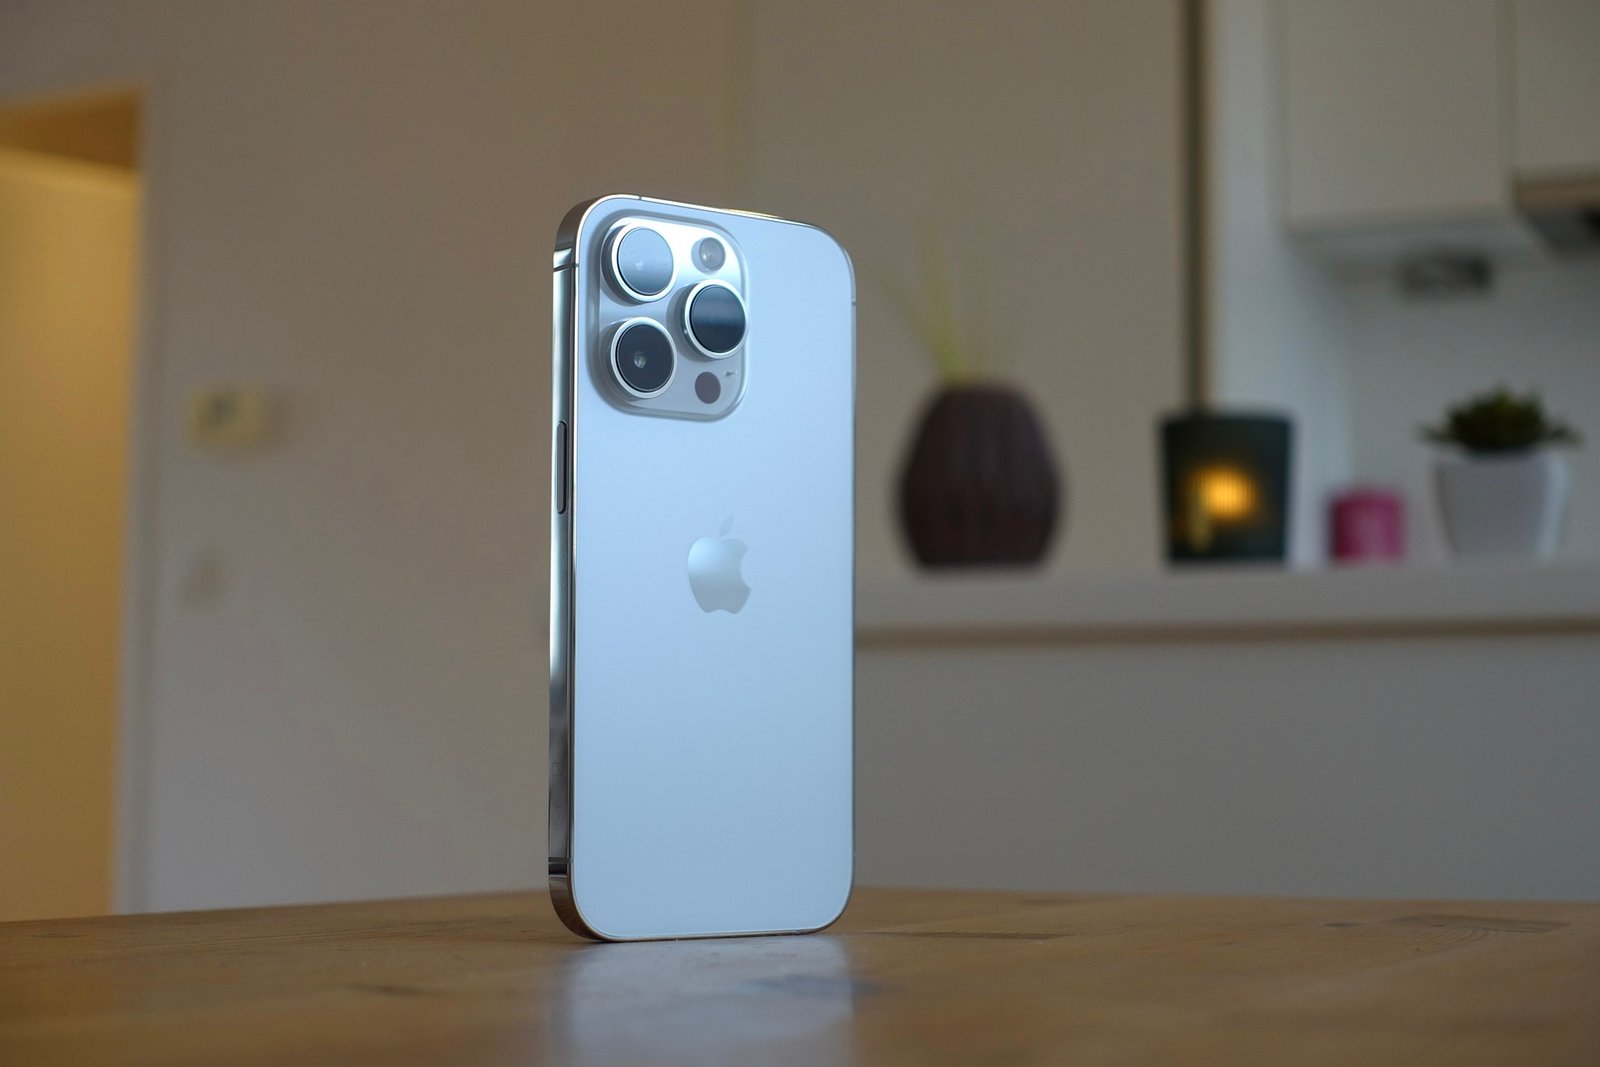


The iPhone 14 has a great camera; you can make the most of it with the right tips! In this guide, I’ll share more of my creative experience with the iPhone 14 Series in this how-to guide than in the review. We’ve used the iPhone 14 Series over time to shoot a lot of different subjects and styles, and we’ve done a lot of exploring and experimenting with this year’s major update – 48 megapixels.

The continued system, new focal length
An essential logic is that when we talk about cell phone photography, we should essentially discuss the phone as a “tap camera.” In other words, whether it’s a camera or a phone when we are shooting, it’s no longer the so-called parameters that guide us but the concept of photography itself.


The best example of this is the perception of focal length.
Any camera comprises two parts: the body and the lens, where the lens directly affects your framing range. And range means “choice of subject matter.” After the iPhone 11 Pro series was upgraded to three lenses, the entire imaging philosophy of the iPhone camera began to emphasize “systemic.”
The whole iPhone camera concept focuses on the collaboration between the three lenses.
But if we switch to a “camera” perception, the current iPhone can be understood as a “fixed-focus lens set. On the iPhone 13 Pro series, the focal lengths of this fixed-focus lens set are 13mm, 28mm, and 77mm. 13mm is more suitable for large landscapes and exaggerated portraits. 28mm is ideal for daily records and street photography, and 77mm is more suitable for portraits, compressed architecture, etc.

But the most popular 50mm focal length is missing.
The first lens many people choose when buying a fixed-focus camera lens is 50mm, and too many of the classic photos we’ve seen are from 50mm lenses. The lack of a 50mm focal length will cause a lot of inconvenience in the shooting.
Now the iPhone 14 Pro camera has a high pixel crop that brings 50mm back into the entire focal length system, so while the iPhone 14 Pro only has three cameras, you have one more “fixed-focus lens set.”

From my experience, the 2× equivalent 48 mm focal length is a crop. Still, you don’t need to worry about the image quality and can use it confidently.
I recommend shooting with the iPhone camera 2× lens in the following scenarios.
1. Portraits
There is no better choice for standard portraits than the 50mm focal length range. Especially with this year’s iPhone 14 series, the 1× has changed from the equivalent of 26mm to 24mm, so don’t underestimate the 2mm difference. This also makes it more difficult to take portraits, so when you want to take a clear portrait, use a 2× lens to capture photos both the experience and the results will be relatively pleasant.
2. Still life
The most direct representative of the still life is the food, and 2 × can make the food look more upright, especially when shooting close-ups, 1 × will make the tableware distorted, 3 × and too close to the panorama is challenging to capture photos. And 2× can get the best balance.

The most important thing is that if you want to get the best image quality, click the lens switch button (0.5×, 1×, 2×, 3×) on the default camera App viewfinder to shoot directly. You can get the highest image quality.
However, the above focal length selection idea is only from the perspective of “getting the best image quality.”

I realized that image techniques are based on image claims. In this article, I will show a kind of operating logic, and you can use the “logic” from your demands.
For example, the photography style.
Photo Styles are an essential feature introduced to the iPhone in recent years.
It allows you to adjust the color temperature and tones before you shoot. Suppose you look at it from a purely technical point of view. In that case, something is to be said for ‘accuracy’ in color temperature, meaning accurate color reproduction.

The photo style has been one of my favorite iPhone software updates in the past few years because you can adjust the image’s contrast, warmth, and coolness to your liking. I suggest you try it more often to find one of your styles, even after shooting, without needing post-adjustment.
We all know that iPhone’s portrait mode has a “studio lighting” effect that brightens and softens the human face. We can actively select Portrait mode, turn on Studio Light, and adjust the aperture value to the maximum (e.g., ƒ/16) so that the background is no longer blurred. However, the face still has a good skin tone.
This way, we can get a selfie with a clear background and a self-beautifying effect. The portrait mode offers a wide selection of focal lengths, so you can choose from 1×, 2×, or even 3×, making it very convenient to take portraits. I use 2× most often, both indoors and outdoors. Both environmental portraits and portraits can get a good balance.

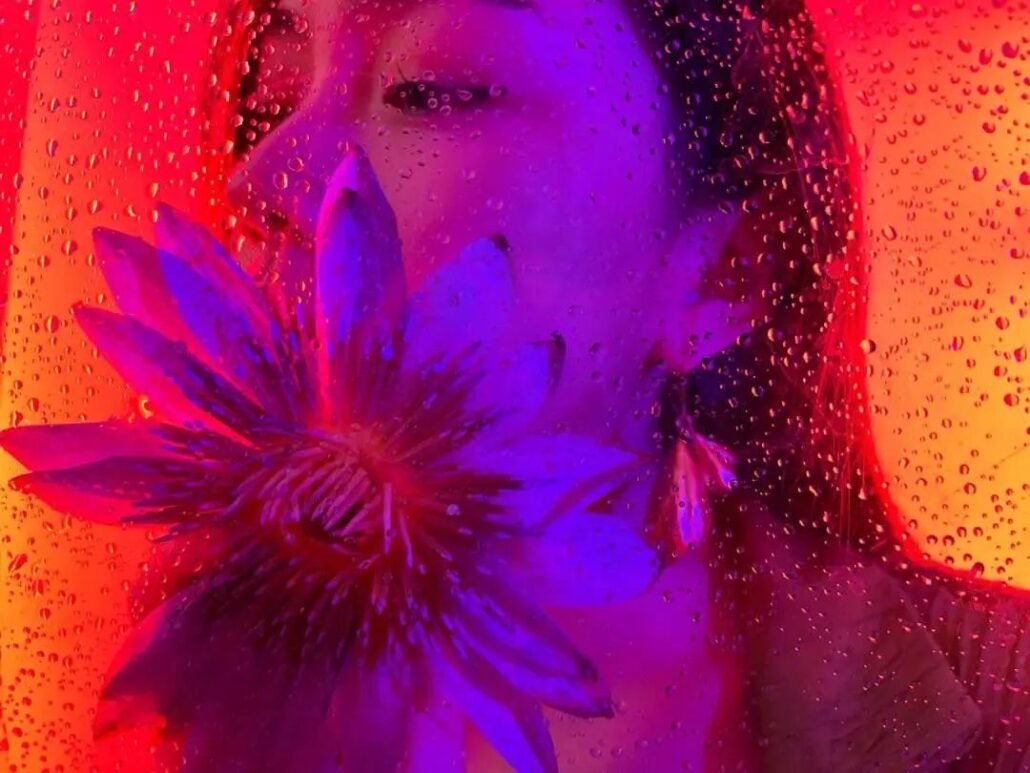
Since we are talking about portrait mode, the portrait mode of the iPhone 14 Pro series has been improved.
From our shooting results, portrait mode now has a more thorough understanding of the “focal plane.” Put bluntly, and it has a more natural and realistic bokeh for the image’s foreground.
For example, in the image below, the flowers in the foreground are a typical example.

Thanks to the 50mm focal length return, this year’s iPhone imaging system are more fleshed out. The upgrade or reinvention of some past features keeps the shooting experience uniform, so you can feel free to continue your shooting habits.
48 megapixels is good. ProRAW is better.
Before we get to 48 megapixels, I think it’s important to understand the RAW format and its extension, ProRAW, a concept that is not new to any photographer today, even to those just starting.
ProRAW is Apple’s advancement of the RAW format.
I’ve decided to spend a little more time here to get you started with ProRAW.

An essential change in today’s digital photography is using “optical sensors” instead of “chemical film.” It’s funny to say that after all these years, the primary structural principles of cameras have not fundamentally changed from 1839 to now. You can summarize it all as follows:
- The camera is the lens, the opaque dark box, and the carrier that records the light.
- The carrier of recorded light has been evolving in varying degrees, and the recent change from film to optical sensors is arguably the most significant change since the invention of photography.
- The essential logic of an optical sensor is to convert direct light signals into digital signals and then translate those digital signals into images.
- The RAW format photo is the “sum of information recorded” of all the light signals converted into digital signals. All the images on the monitor result from “conversion and translation” of the “sum of information records,” such as JPG format.

Since conversion and translation mean “loss” or “filtering and compression of information,” an important advantage of the RAW format over the JPG format is that it contains the most information and therefore has the most space for post-production.
Since the RAW format has such significant advantages, why don’t we use the RAW format to the JPG format?
Because the RAW format has two “disadvantages” that are destined to be unpopular:
1. It takes up a lot of space
All the information naturally means more data recording. The 48-megapixel RAW format photo of the iPhone 14 Pro series is even close to 100M (in most cases around 70M), which is more than 20 times ordinary photos.
2. RAW format must be “translated” to be able to use
As mentioned earlier, it is also called “digital negative,” and “negative” means you must post-adjust and output other formats such as JPG, PNG, and other standard formats.
Here you may say, the RAW format photos I took with my iPhone are directly shareable on social networks. That’s an illusion because the iPhone actually “translates” them for you when you share them. And you can’t even view the RAW format without translating it, so the RAW format photos you see in your iPhone albums result from translation.

Now that you’ve learned about RAW and Apple’s ProRAW, we can talk about 48 megapixels.
High resolution has always been a topic of discussion in the photography environment, and you may have more or less “conclusions” about pixels. But any conclusion is subject to conditions.
For example, for a long time, people thought that the higher the pixels, the better the image quality, and after Apple used 12 megapixels for almost 7 years to lead the entire field of mobile photography, people learned that pixels and image quality are not equal.
But today, Apple has taken a big step forward by launching 48 megapixels.
On the iPhone 14 Pro series, the system still outputs 12 megapixels by default in the form of pixel quadruplexes. To get 48 megapixels, we need to go through two advanced camera settings.
In Settings App – Camera – Formats, turn on ProRAW and select 48 MP in the ProRAW resolution.
Enter the camera shooting screen, and click the RAW icon in the upper right corner of the shooting screen to open it. When you press any shutter at this point, you’ll be shooting at 48MP ProRAW.
As we can see, Apple still “hides” the 48-megapixel high resolution. So it is clear that 48 megapixels are not a “daily” use option.
So here are some suggested usage scenarios for reference.
1. Landscapes and high-detail density selections
High pixels are the favorite of landscape photographers because landscape photography requires the highest level of detail capture. Of course, any image with high detail density is good for high pixels as long as it is.

2. Scenes with post-production significance
Suppose your picture is considered a “work” by itself, especially for post-production. In that case, the 48-megapixel ProRAW will give you a lot of space for post-production. You can use the localization tools to readjust the light and shadow levels, or you can use the color tools to revamp a color style completely.
The use of high resolution is not recommended:
1. Record information-based shooting
If you are shooting at hand, it is recommended to turn off ProRAW completely because a photo of about 70M space needs massive iPhone storage.
2. Dynamic continuous shooting theme
Some high-speed movements, or shooting scenes with high-speed movement, are not suitable for 48 megapixels because shaking is the “natural enemy” of high pixels. It will make your photos “blur.”
High-pixel shooting requires a certain amount of calculation time, so there is an interval between shutters, which is unsuitable for high-speed shooting. Therefore, even if you are in the 48-megapixel mode, entering continuous shooting mode is impossible and will return to a standard photo.
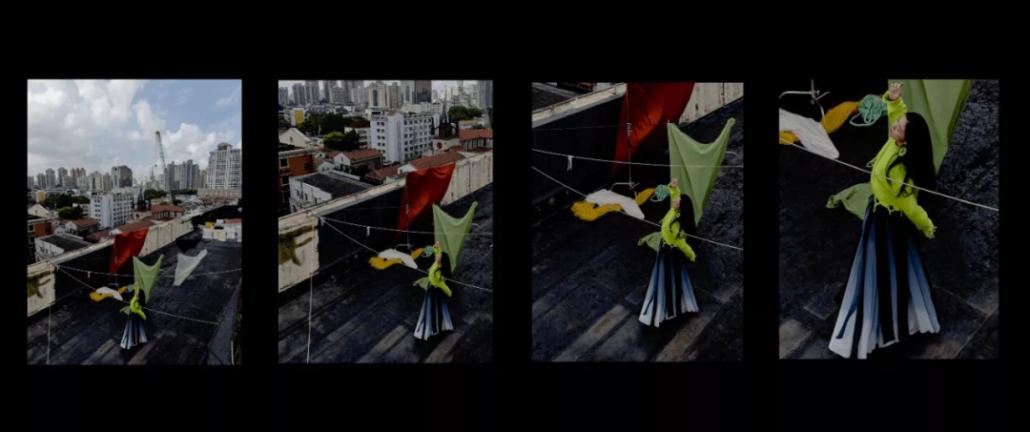
From a creative point of view, the most direct application of high resolution is: “secondary cropping.”
The defining moment has always been the theoretical cornerstone of photography, a premise built on the premise that our framing is fixed every time we press the shutter. But high pixels mean we can take an image and then cut it again at will while maintaining enough resolution to keep it visually sharp.
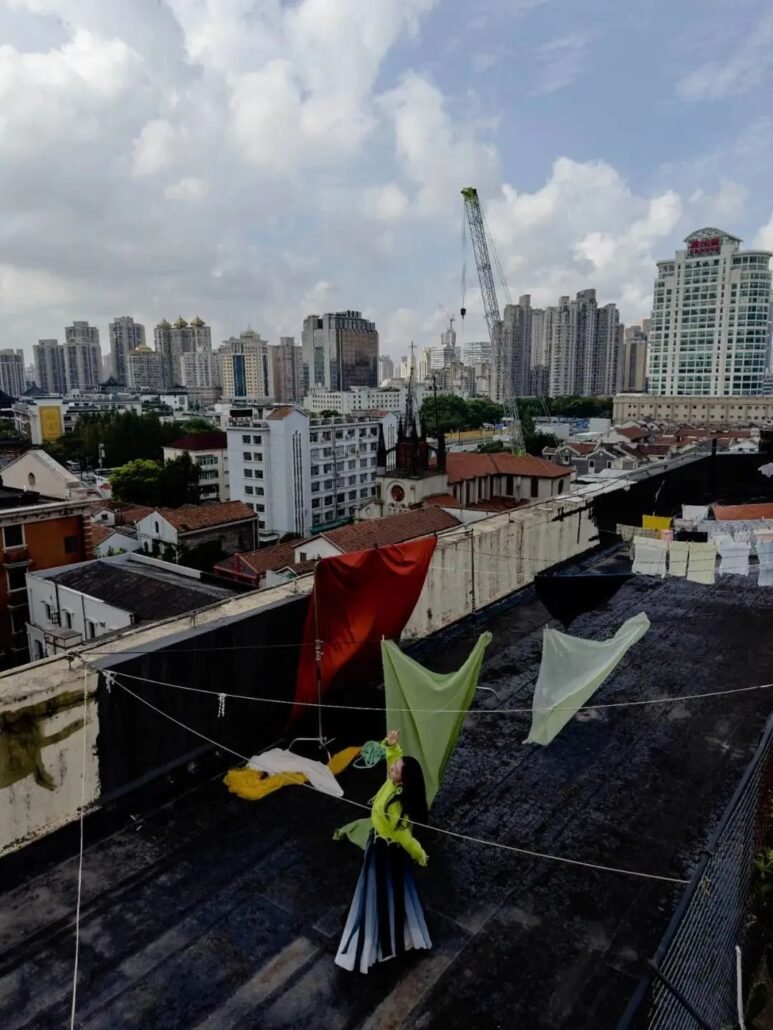
48 megapixels means you can split the image into eight equal parts, post it on social networks, and still maintain the clarity of the picture. The bold secondary composition is even possible for many works. On the one hand, it allows you to simplify the image and keep it simple. On the other hand, it will enable you to rethink the story structure of the image and even get a completely different narrative result through secondary cropping.
Another application scenario is large-format output.
Please don’t put too much faith in digital stuff, especially those precious memories at a very different temperature when they land on paper. I like to share photos with Polaroid because the medium of real objects gives a different experience.
You may find that 48 megapixels are only a “front stage” and ProRAW is “behind the scenes.” The professional photographers’ admiration for 48 megapixels is based on ProRAW.
Although ProRAW has been launched for iPhone before, the 12 megapixels are really stretched, but 48 megapixels is enough to cause a qualitative change. Try ProRAW with 48 megapixels, which will refresh your perception of cell phone image quality.
Some important details
Regarding the iPhone 14 Pro series, we’re talking about 48 megapixels. Still, beyond that, there are a lot of little upgrades that I think are even more helpful than 48 megapixels for actual photography.
Cinematic Mode
The cinematic mode is now available in 4K 30FPS and 4K 24FPS. After a year of testing, the cinematic mode is fully operational. This upgrade to a higher resolution is expected.
There are a few changes in the techniques for using the cinematic mode. What remains to be emphasized is that for a wonderful bokeh effect, it is important to have a clear subject and background in the picture. Considering that the iPhone is a great vlogging device in most cases, it is an excellent way to simplify the picture in complex environments.

Flash
Many smartphone flashes should be renamed “flashlight,” but the flash on the iPhone is highly usable, and in low light or “backlight” situations, using the flash for portraits can significantly soften the skin quality and give the whole picture more layers.

An essential improvement to the flash on the iPhone 14 Pro series is the “flash zoom,” a standard feature on many professional flashes. It will intelligently follow your screen size to determine the flash range.
For example, suppose you’re shooting with a 3× lens. In that case, the flash range is narrower but farther away, allowing you to focus better on your face.
Sports mode
Motion mode is not a new feature, as many smartphones have developed similar super anti-shake features as early as a few years ago. The test results show that the iPhone 14 series’ sports mode works exceptionally well, with a smoother picture and a steady state of video with few dropped frames.
It is recommended to shoot with an ultra-wide angle lens when using it.
Because once you turn on sports mode, the resolution of the footage drops directly to 2.8K, essentially because sports mode is apparently a “frame crop and then align” type of anti-shake. Which is used in the basic video mode function of the iPhone, but the algorithm is not as aggressive as in Sports mode, given the framing range of the image.
You will also find another option, “Enhanced Stability,” on “Motion Mode Low Light” in the settings App. It improves picture stability when you don’t turn on the motion stabilization mode, which apparently should be another degree of digital crop stabilization. It’s recommended to turn it on if you capture video handheld a lot or if you often capture video in unstable environments. But if you’re in a fixed camera position, I’d recommend turning this switch off.
Overall, I think iPhone’s stabilization in non-sports mode is good enough. I don’t think it needs to be turned on if it’s not extreme bumps, like all sand and gravel, or a wild ride.
Batch editing
Now you can finally batch edit your photos. iPhone Albums has an outstanding retouching feature and clear logic. So instead of going into third-party retouching software, I now use the editor that comes directly with most of my photos. But for a long time, I’ve been complaining about one feature: the tonal uniformity of multiple photos.
Uniformity of style for a group of photos is one of the core skills in the need for nine pictures for social networks and creative shooting ideas. But in the past, if you wanted to keep all nine images tonally consistent, you had to do it repeatedly.
Now you can select “Copy Edit Points” after editing in iOS Albums and then “Paste Edit Points” after selecting photos in bulk. You can keep all nine photos in a uniform adjustment style. Of course, since each photo has a slightly different exposure, you can quickly fine-tune individual photos after adjusting them.
The management of iOS albums has also been enhanced, and a “duplicate item” in the album helps you streamline redundant photos, which is very useful.

The iPhone 14 camera is an impressive improvement from its predecessors. It takes excellent photos and videos with a few new features and some increased specs. Even if you’re not a professional photographer, following the tips in this guide will help you get the most out of your new phone’s camera. Thanks for reading!


